Skip to content
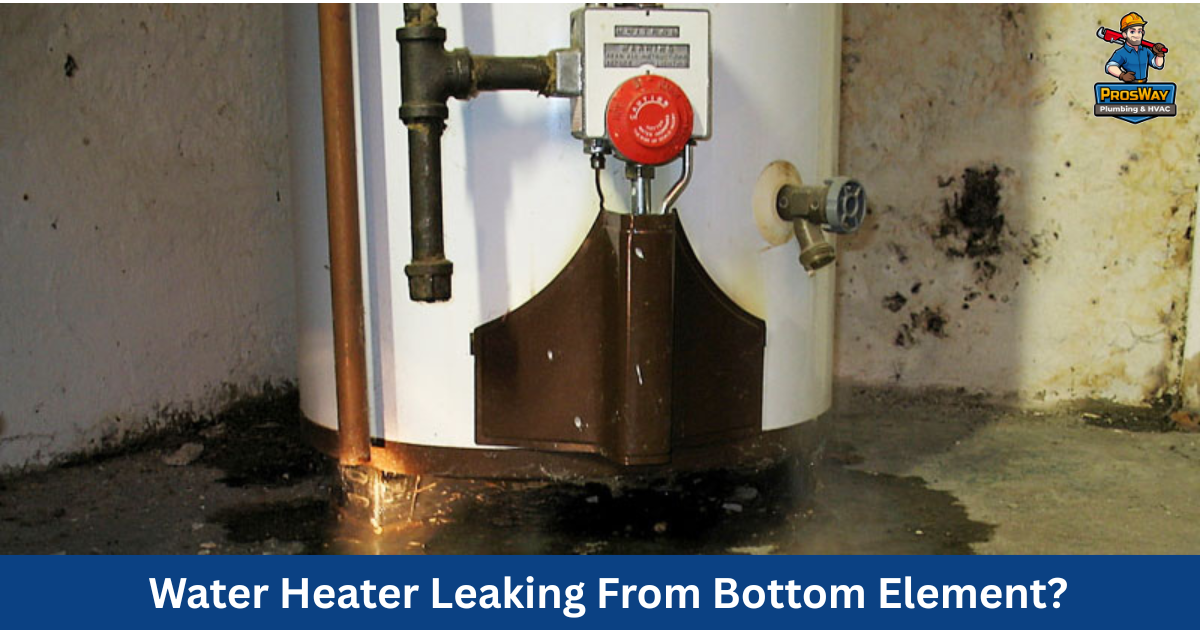
Have you just observed a pool around the bottom of your hot water heater? Well, it is not a perfect scenario to sign up. The bottom heating element is a key component in electric water heaters, and in some cases, gas units have electrical parts for hybrid functions as well. When leaks occur here, they often start small but can quickly turn into bigger problems.
A water heater leaking from bottom element can mean a loose gasket, corrosion, or even early signs of tank failure. This guide outlines how to confirm the leak source, understand the most common causes, take safe steps to fix the problem, and know when it’s time to call a licensed plumber.
Is It Really the Bottom Element?
Not every drip near the base of the tank comes from the heating element. Several other parts can mimic the same symptom. Before assuming you’re dealing with a failed element or gasket, run through these quick checks:
- Drain valve: Located near the bottom of the tank, this valve allows you to flush sediment. Over time, it can loosen or corrode, leaving puddles that resemble an element leak.
- Tank crack: Corrosion inside the inner shell of the water heater can cause rust and leaks that seep downward. These are not repairable.
- Condensation: After heavy hot water use, cold water entering the tank can cause condensation on the outer surface. This water will evaporate rather than pool continuously.
- Loose fittings: Inlet or outlet pipes can drip and run down the side of the tank, making it appear like the bottom is leaking.
A simple homeowner check is to wipe the suspected area dry and watch closely. The bottom element is indeed the culprit if beads of water form directly around the element flange or gasket.
Why is My Water Heater Leaking From the Bottom Element? (Most Common Causes)
The bottom heating element and its gasket sit submerged in water, which means they’re under constant stress from temperature changes, minerals, and pressure. Over time, several problems can develop:
Loose or Worn Gasket
The gasket is a rubber or synthetic seal that sits between the bottom heating element and the tank wall.
Over time, it hardens, shrinks, or shifts from constant exposure to hot water. A loose or deteriorated gasket can allow water to seep through the element flange.
Even a small leak can grow quickly, especially under high water pressure. Tightening may provide temporary relief, but in most cases, a gasket replacement is necessary.
Corrosion or Rust
Minerals in hard water, such as calcium and magnesium, accelerate corrosion around the element housing. Rust gradually eats away at the metal flange, threads, or the tank wall surrounding the element.
Corrosion both weakens the seal and indicates broader tank damage. Wet insulation behind the access panel often signals rust has progressed inside the inner tank, a problem that may require full water heater replacement.
Improper Installation
Improper installation is another common cause of leaks. Cross-threading the element during installation leaves gaps that allow water to pass through.
Overtightening can damage the gasket or warp the flange, resulting in a watertight seal that is not secure.
On the other hand, undertightening fails to compress the gasket properly. Each of these mistakes may lead to leaks at the bottom element soon after installation. Correct torque and alignment are critical during replacement.
Sediment Buildup
Sediment settles at the bottom of the tank, where the lower heating element sits. This buildup insulates the element, forcing it to overheat. Overheating stresses the gasket and can cause it to fail prematurely.
Sediment also creates hot spots, weakening the metal housing of the element and the tank itself. Annual flushing helps control sediment, but in areas with very hard water, a water softener or filter is often necessary to reduce the risk of leaks.
Age of the Water Heater
Most tank water heaters last 8–12 years under normal conditions. By the time a unit reaches this age, components like the lower heating element, gasket, and inner tank walls begin to fail from prolonged heat and mineral exposure.
An older water heater leaking from the bottom element may point to overall deterioration rather than a single faulty part. In many cases, replacement is the most reliable long-term fix.
Safety Precautions Before Doing Anything
Water and electricity are a dangerous combination. Before touching panels, valves, or wires, take these steps:
- Turn off power: For an electric water heater, switch the breaker OFF at the electrical panel. For gas water heaters with hybrid electrical parts, also close the gas valve.
- Shut off the cold water supply: Stop the flow into the tank to limit further leaking.
- Dry the area: Mop up puddles around the heater to prevent slipping hazards and to see new leaks more clearly.
- Avoid DIY wiring: Never attempt electrical work when water is present inside the access panel. Call a professional immediately if the insulation feels damp.
How to Fix a Water Heater Leaking from the Bottom?
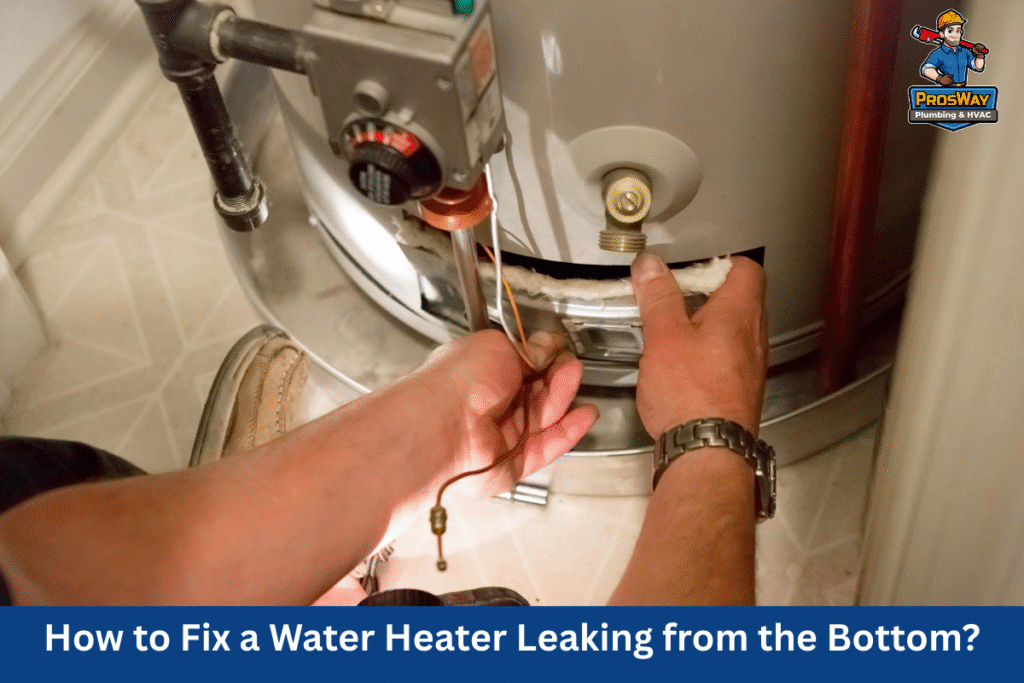
Leaks at the bottom heating element often look worse than they are. In many cases, replacing a worn gasket or tightening the element solves the problem. Here’s how to approach it methodically:
Tools You’ll Need
- Element wrench (special socket tool for heater elements)
- Multimeter (to check electrical continuity)
- Bucket or hose (for draining)
- Towel and gloves (for safety and cleanup)
- New heating element and gasket (if replacement is needed)
Step 1: Remove the Lower Access Panel
Shut off the power at the circuit breaker and close the cold water supply valve. Remove the bottom access panel, pull back the insulation, and take off the plastic safety cover. This exposes the heating element, thermostat, and surrounding area.
Step 2: Confirm the Leak Source
Wipe the area dry. Watch for water beading around the element flange. Leaks from the gasket will appear as a slow seep. Wet insulation nearby may indicate tank wall cracks, which is a more serious problem.
Step 3: Drain Below the Element Height
Connect a garden hose to the drain valve at the base of the tank. Run the hose to a floor drain or bucket. Open a hot water faucet upstairs to let air in, then open the drain valve until the water level falls below the bottom element.
Step 4: Loosen and Remove the Element
Use the element wrench to carefully loosen the heating element. Expect some residual water to spill out. Remove the element and inspect both the metal surface and the rubber gasket. Cracks, corrosion, or worn gaskets confirm the cause of the leak.
Step 5: Install New Gasket/Element
Clean the port threads and flange seating surface. Place a new gasket onto the element. Slide it into the port, ensuring it seats squarely. Snug the element with the wrench, avoiding overtightening, which damages threads or the gasket.
Step 6: Refill and Purge Air
Close the drain valve and turn on the cold water supply. Keep a hot faucet open until a steady stream of water flows, which removes trapped air. This step is critical to avoid dry-firing the new element.
Step 7: Leak Check
Dry the area around the gasket. Watch closely for weeping or drips as the tank refills and pressurizes. Minor seepage usually means the gasket isn’t seated evenly and may require retightening.
Step 8: Restore Power
Flip the breaker back on only after the tank is full. Powering an element in an empty tank burns it out instantly. Allow the heater to cycle, then check again for leaks under normal operating pressure.
Step 9: Heat and Recheck
Once the tank reaches temperature, thermal expansion places more stress on the seal. Inspect again after the first heating cycle. A secure, dry seal means the repair succeeded.
Warning: When to Stop and Call a Pro: If you notice rust inside the tank, wet insulation beyond the flange, or repeated leaks even after gasket replacement, the problem is likely a failing tank. At that point, replacement is the safest and most cost-effective solution.
Repair vs Replace: What’s the Right Call?
Not every case of a water heater leaking from the bottom element requires full replacement. The decision comes down to the tank’s age, condition, and the exact cause of the leak.
When Repair Makes Sense
A leak at the bottom element is often caused by a worn gasket or a failed heating element. Repair is usually worthwhile when:
- The tank is under 8–10 years old.
- The leak is limited to the gasket or element, with no widespread rust.
- Electrical testing confirms that only the element needs replacement.
In these cases, replacing the element and gasket restores function without major cost.
When Replacement Is Smarter
Leaks tied to tank failure or advanced corrosion are rarely fixable. Replacement is the better choice when:
- The tank is 10–12+ years old.
- Rust or wet insulation shows damage inside the tank shell.
- The T&P valve discharges frequently, pointing to excess stress.
- Multiple leaks appear around the tank.
Even a repaired element won’t last long in a failing tank.
Replacement Options
- High-efficiency tank models with better insulation and recovery.
- Tankless water heaters that eliminate sediment buildup and element leaks.
- Upgrades like anode rods or water softeners to extend the new unit’s lifespan.
How to Prevent Future Leaks?
A water heater leaking from the bottom element often starts with simple wear, but regular maintenance greatly reduces the risk of repeat problems.
- Annual Water Heater Maintenance: Schedule yearly service to have a professional plumber inspect the tank, heating elements, and seals. Preventive checks catch small leaks before they become major failures.
- Flush the Tank to Reduce Sediment Buildup: Minerals and sediment settle at the bottom of the tank, creating hot spots that stress the element and gasket. Flushing once a year removes buildup and helps prevent overheating damage.
- Check the Anode Rod Condition: The anode rod protects the inner tank from corrosion. Inspect it every 2–3 years, or sooner in areas with hard water. Replacing a depleted rod extends tank life and helps avoid leaks at weak points.
- Regulate Water Pressure Properly: High household water pressure accelerates leaks. Keep supply pressure between 50–60 psi using a pressure regulator. This reduces strain on the tank, fittings, and heating elements.
Final Thoughts
Bottom element leaks may start as a slow drip, but they can worsen into serious water damage or complete system failure. Addressing the problem early, even if it’s a worn gasket, sediment buildup, or corrosion, saves both money and stress.
Your Solution to Water Heater Leaks Starts Here!
Don’t let a small leak turn into a costly disaster. ProsWay Plumbing & HVAC provides safe, reliable water heater repair and replacement services throughout Northern New Jersey. From diagnosing bottom element leaks to installing high-efficiency systems, their licensed team keeps your hot water dependable and your home protected. Call us now at (862) 260-5870 or Book Online today for expert service and lasting peace of mind.