Skip to content
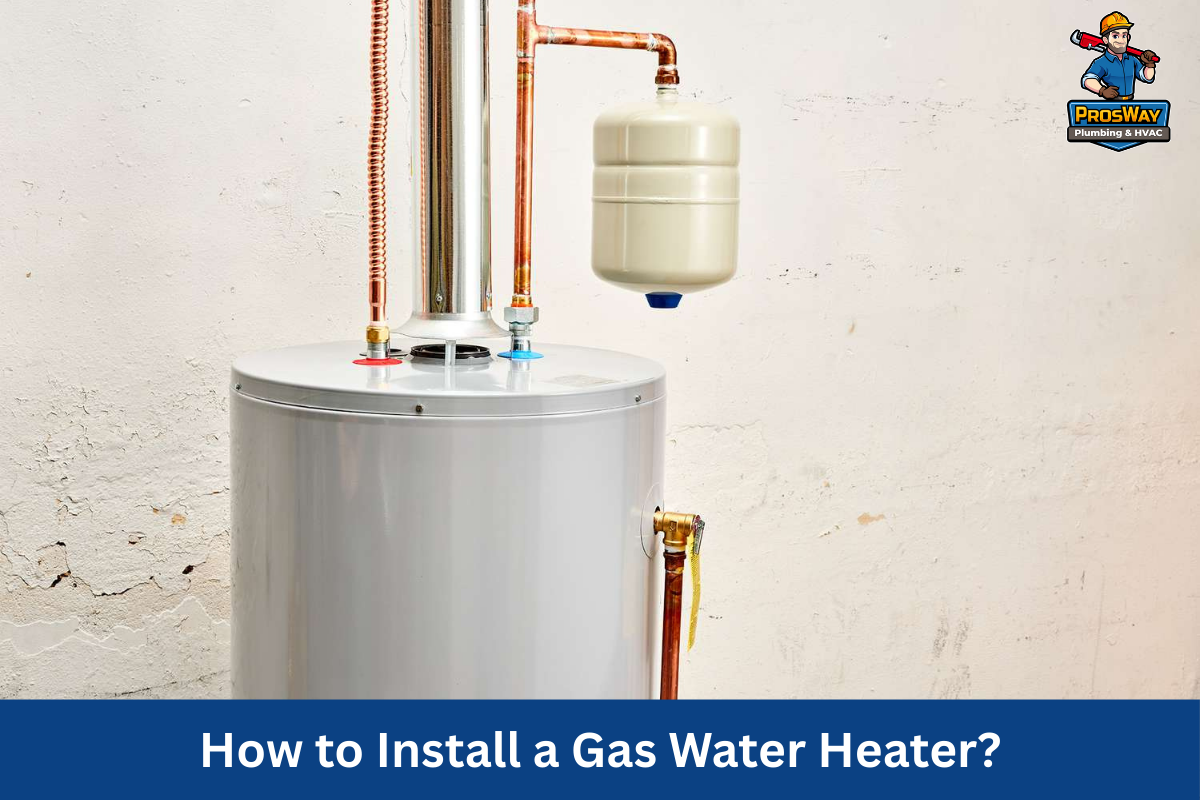
A properly installed gas water heater keeps hot water flowing safely and efficiently. Done right, it reduces the risk of gas leaks, prevents carbon monoxide issues, and ensures your system runs at peak performance for years. Done wrong, it can cause costly repairs, or worse, create serious hazards.
While some homeowners handle small plumbing tasks themselves, installing a gas water heater, tank-type or tankless, requires skill with gas lines, venting, and water connections. That’s why it’s highly recommended to contact professionals for safe installation. This blog describes gas water heater installation, covering both tankless and tank-type models in your house.
Key Takeaways
- Proper gas water heater installation is critical for safety, efficiency, and long-term performance.
- There are two main types: tank models (store hot water) and tankless models (heat water on demand).
- Always follow local plumbing and building codes, and obtain permits before starting work.
- Maintain six inches of clearance on all sides, provide adequate combustion air, and avoid combustible materials nearby.
- Use the correct gas supply line size, gas-rated thread seal tape, and install a sediment trap to protect the burner.
- Test all gas connections with a leak detection solution before operating the heater.
- Proper venting is essential to prevent carbon monoxide hazards. Verify draft with a smoke test.
- Annual maintenance, including flushing, vent inspection, and leak checks, will extend the heater’s lifespan.
- Hiring a licensed professional like Prosway Plumbing & HVAC in Northern New Jersey ensures a safe, code-compliant installation.
Safety First: Gas Water Heater Installation Precautions
Gas safety basics
Working with gas means understanding the risks. A loose-fitting or damaged connector can cause gas leaks, which carry explosion hazards. Poor venting can allow carbon monoxide to build up indoors, creating a life-threatening situation.
So, always shut off the gas at the gas shut-off valve before starting work and verify no flow through the gas supply line.
Tools and gear you’ll need
For tank-type or tankless gas water heater installation, gather the right tools before you start:
- Adjustable wrench and pipe wrench
- Tubing cutter
- Screwdriver and drill
- Thread seal tape (gas-rated) and pipe joint compound (gas)
- Gas leak detection solution in a spray bottle
- Garden hose for draining
- Hand truck or appliance dolly for moving the unit
- Safety glasses and gloves for protection
These ensure connections are secure, leaks are detected, and heavy units can be moved without injury.
Permits and local codes in Northern New Jersey
Gas water heater installations must follow local plumbing codes and building codes. In Northern New Jersey, most towns require a permit and inspection. This guarantees the flue connection, gas supply line, and water lines meet safety standards.
Permits also verify the installation complies with clearance requirements, often six inches on all sides, and that there’s adequate combustion air for proper burner operation.
Water Heater Location
The installation location affects safety and performance. Choose a spot with enough clearance for service access to the burner assembly, thermostat controls, and T&P relief valve.
Avoid placing the heater near combustible materials and ensure there’s proper ventilation to prevent moisture buildup. For tank models, position a drain pan beneath the unit and route its discharge to a floor drain.
Taking Out Your Old Gas Water Heater

Before emptying the water heater, the initial step is always to close off its water and gas supply.
- Step 1: Shut off the gas and water supply: Turn off the gas at the shut-off valve on the supply line. Close the cold water shut-off valve leading into the heater. Double-check that the gas flow has stopped using the appliance controls or the pilot light.
- Step 2: Drain the unit completely: Attach a garden hose to the drain valve at the bottom of the tank. Run the hose to a floor drain or outside. Open the drain valve and a nearby hot water faucet to allow air in, helping the tank empty faster.
- Step 3: Disconnect gas and water connections: Use two wrenches to disconnect the gas line from the heater, preventing strain on the pipe. Remove the flexible gas connector or black iron pipe section connected to the gas valve. Disconnect the hot and cold water lines, loosening the fittings carefully to avoid damaging threads or dielectric unions.
- Step 4: Detach the venting and move the unit: Loosen the screws holding the vent pipe to the draft hood. Lift the vent free from the flue connection. With the vent removed, use a hand truck or appliance dolly to move the old heater out of the area.
- Step 5: Prepare the area for the new installation: Clear debris and inspect the gas and water lines for wear or leaks. Check the flue for obstructions. Measure the space to confirm your new heater will meet clearance requirements and align with existing vent and supply connections.
How to Install a Gas Tankless Water Heater?
Right now, you’re prepared to start installing a tankless water heater. Stick to these steps:
Step 1: Choose the right location
Tankless units mount to a wall, so choose a spot with access to the gas line, cold water supply, and hot water outlet. Confirm the BTU rating matches your home’s gas supply line size. Ensure the wall space meets clearance guidelines and has room for venting.
Step 2: Mount the unit
Secure the mounting bracket to the wall studs, following manufacturer specifications. Use anchors if mounting on masonry. The unit must be level to ensure proper water flow and burner performance.
Step 3: Connect water lines
Check the inlet filter for debris. Connect the cold water inlet and hot water outlet, adding isolation valves to make future descaling and maintenance easier. Use PTFE tape on threaded fittings and tighten connections carefully.
Step 4: Connect the gas line
Tankless models often require larger gas lines due to higher BTU demands. Install the properly sized flexible connector or black iron pipe, including a sediment trap. Test for leaks using the same soap solution method as with a tank unit.
Step 5: Install venting
Follow the manufacturer’s instructions for vent type: direct vent or power vent. Direct vent systems draw combustion air from outside, while power vent systems use an electric fan to push exhaust gases through the vent pipe.
Use approved materials such as stainless steel or PVC (if specified) and seal all joints to prevent leaks. Maintain proper clearance from windows, doors, and other openings to prevent exhaust from re-entering the home.
Step 6: Power up and configure
Open the water supply and purge air from the lines. Turn on the gas and ignite the unit per the owner’s manual. Set the water temperature to 120°F for safety and efficiency. Before first use, flush the system as directed to remove debris from the installation process.
How to Install a Tank-Type Gas Water Heater
Step 1: Position the new tank
Place the heater in the prepared location, ensuring six inches of clearance on all sides and adequate access to controls. Use shims if the floor is uneven to keep the unit level. Position the drain pan under the tank and connect it to a floor drain to manage leaks.
Step 2: Connect water lines
Attach the cold water supply line to the cold inlet with the blue heat trap fitting arrow pointing inward. Connect the hot water outlet with the red fitting arrow pointing outward. Use PTFE thread seal tape on all threaded connections and tighten with two wrenches to avoid damaging fittings.
Solder joints before attaching to the heater to prevent heat damage to internal parts if using copper piping.
Step 3: Connect the gas line
Install a flexible gas connector or black iron pipe from the house gas supply to the unit’s gas control valve. Always include a union fitting for easy future removal and a sediment trap (drip leg) to capture debris.
Apply gas-rated thread seal tape or compound on threaded fittings. Once assembled, spray the connections with gas leak detection solution (soap and water in a 1:1 ratio); bubbles mean a leak that must be fixed before proceeding.
Step 4: Install the venting system
Place the draft hood on top of the heater and secure it. Connect the vent pipe to the hood and run it to the flue, maintaining an upward slope for proper draft.
Secure all joints with sheet metal screws and seal per manufacturer instructions. Check for obstructions in the vent and confirm proper clearance from combustible materials.
Step 5: Fill the tank and relight the pilot
Open the cold water valve to fill the tank. Keep a nearby hot faucet open to purge air until water flows steadily. Follow the owner’s manual to ignite the pilot using the built-in ignition switch or manual lighting method.
Adjust the thermostat to about 120°F for safety and efficiency. Perform a smoke test at the draft hood to verify proper venting; smoke should be drawn up the flue, not spill into the room.
Common Installation Mistakes to Avoid

- Skipping permits: Leads to failed inspections, delays, and costly rework. Always get required approvals before starting.
- Using the wrong size gas line: An undersized line will reduce BTU supply, causing poor burner performance.
- Poor venting: Incorrect vent design or installation can cause backdraft, allowing carbon monoxide to enter the home.
- Not checking for gas leaks: Even small leaks are dangerous. Always test every connection with a gas leak detection solution before operating the heater.
When to Call a Professional?
It’s time to bring in a licensed plumber if you’re unsure about gas piping, venting, or local codes. Gas water heater installation involves combustion safety, pressurized plumbing, and electrical components in some cases. Mistakes can be costly and dangerous.
In Northern New Jersey, hiring Prosway Plumbing & HVAC means working with a team that handles both tank and tankless gas water heater installations.
We manage permits, meet all code requirements, and have the tools to do the job right the first time. This saves time, reduces risks, and ensures your new system passes inspection without issues.
Final Thoughts
Installing a gas water heater, tank, or tankless water heater requires more than just connecting pipes. It’s about ensuring safe gas handling, proper venting, correct sizing, and code compliance. Skipping steps or using incorrect materials can lead to safety hazards and costly repairs. A professional installation ensures both compliance with local plumbing and building codes and gives you peace of mind knowing the system is safe, efficient, and built to last.
Ready for Hot Water Without the Hazards?
If you’re upgrading or replacing your gas water heater in Northern New Jersey, Prosway Plumbing & HVAC can manage every detail, from permits and installation to final testing and inspection. Call today or Book Online to schedule your installation and enjoy worry-free hot water. We keep you informed, on budget, and on schedule—every time.
FAQs
What is needed to install a gas water heater?
You’ll need the correct-size gas supply line, cold and hot water connections, proper venting, required fittings (union, sediment trap, dielectric unions), gas-rated thread seal tape, leak detection solution, and tools like wrenches, a tubing cutter, and safety gear.
How long does it take to install a gas water heater?
A professional can typically complete the job in 2–4 hours, depending on site conditions and whether old equipment needs removal.
Can I install a gas water heater myself?
It’s possible, but not recommended. Working with gas, venting, and pressurized water lines carries safety risks. Most areas require a licensed plumber for code compliance and permits.
Which lasts longer, a tank or a tankless?
Tankless gas water heaters generally last longer, about 20 years with maintenance, compared to 8–12 years for tank models.
What size gas water heater do I need?
For tanks, size is based on household occupants and peak hot water demand (in gallons). For tankless, size is based on total gallons per minute (GPM) needed at peak use and required temperature rise.