Skip to content
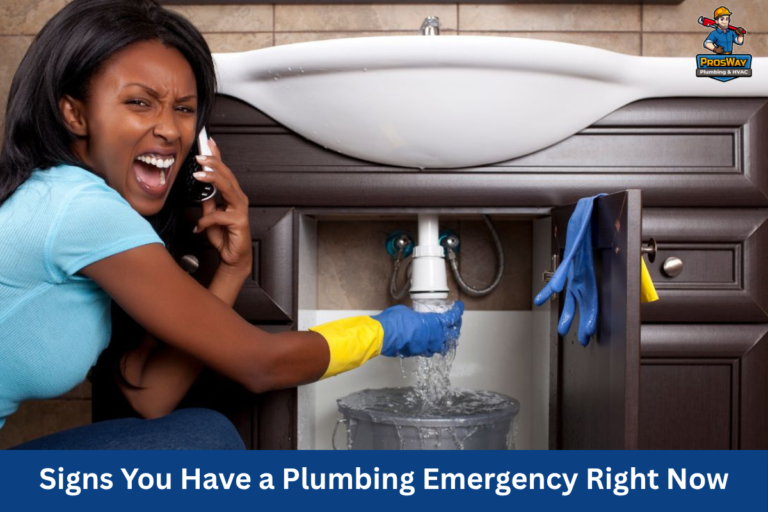
Are you observing standing water under your water heater? The usual culprit is a leaking drain valve. At the bottom of the water heater sits a small but essential part: the drain valve. When this valve starts leaking, many homeowners brush it off as “just a drip.” But even a small leak from the drain valve can quickly grow into a flood risk, wasted energy, or even a sign of deeper issues inside the tank.
Today’s guide will cover what the drain valve does, common signs of water heater leaking from drain valve, why they happen, and safe solutions for fixing or replacing the valve.
What Does A Drain Valve on a Water Heater Actually Do?
The drain valve is located near the bottom of your tank water heater. It’s often made of plastic in budget models or brass in higher-quality systems. This valve connects to a spout and handle, allowing you to attach a garden hose or direct water into a bucket.
Its role is simple but critical:
- Flushing the tank: Over time, sediment and mineral buildup settle at the bottom of the tank. If not flushed out, this buildup can cause overheating, loud popping noises, or tank corrosion.
- Draining for maintenance or replacement: A technician (or homeowner) uses this valve when performing maintenance, replacing parts, or fully draining the tank.
Because of its location and frequent use, the drain valve is more prone to wear, rubber gasket deterioration, and leaks at the threads or handle. With plastic valves, brittleness is another issue; cracks can form simply from age or excess tightening.
Signs Your Water Heater is Leaking from the Drain Valve
Leaks are not always obvious, but the drain valve has a few telltale signs that set it apart from other water heater issues. Here’s what to look for:
- Visible dripping or pooling water right under the valve or at the base of the unit.
- Damp flooring, rust stains, or water trails below the tank. These can indicate a slow leak that’s been happening for days or weeks.
- Leaks that appear only when flushing the tank may mean sediment or scale is caught inside the valve, preventing it from closing fully.
- Constant dripping from the spout, handle, or threads is a sign that the rubber washer or valve threads are worn.
- The difference between a drain valve leak vs. a tank leak: the problem is usually corrosion in the water heater tank, not the drain valve, if water is seeping from the bottom plate or along the tank body. A true tank leak is much more serious and often requires full replacement.
The confirmation of the source of the leak through a dry valve test (wiping it clean, then checking again later) can help rule out condensation, which is normal after heavy hot water use.
Why is My Water Heater Leaking from the Drain Valve?
Several issues can cause water leaking from a water heater drain valve:
- Loose valve connection: Sometimes, the valve just needs a gentle tightening with a pipe wrench.
- Faulty rubber washer or worn-out threads: Over time, rubber gaskets deteriorate, and threads lose their seal.
- Sediment buildup inside the valve: Sediment can prevent the valve from closing fully, causing a slow leak.
- Plastic vs. brass drain valves: Plastic versions often crack or warp with age. Brass and full-port valves are more durable and reliable.
- Age of the water heater: Valves (and tanks) naturally degrade after years of use. If your system is 8–12 years old, valve leaks may signal it’s time to plan for replacement.
These causes vary from minor issues to signs of a water heater nearing the end of its lifespan. Identifying which one applies to your unit helps you decide whether to attempt a quick fix or call a professional plumber.
How to Fix a Leaking Drain Valve?
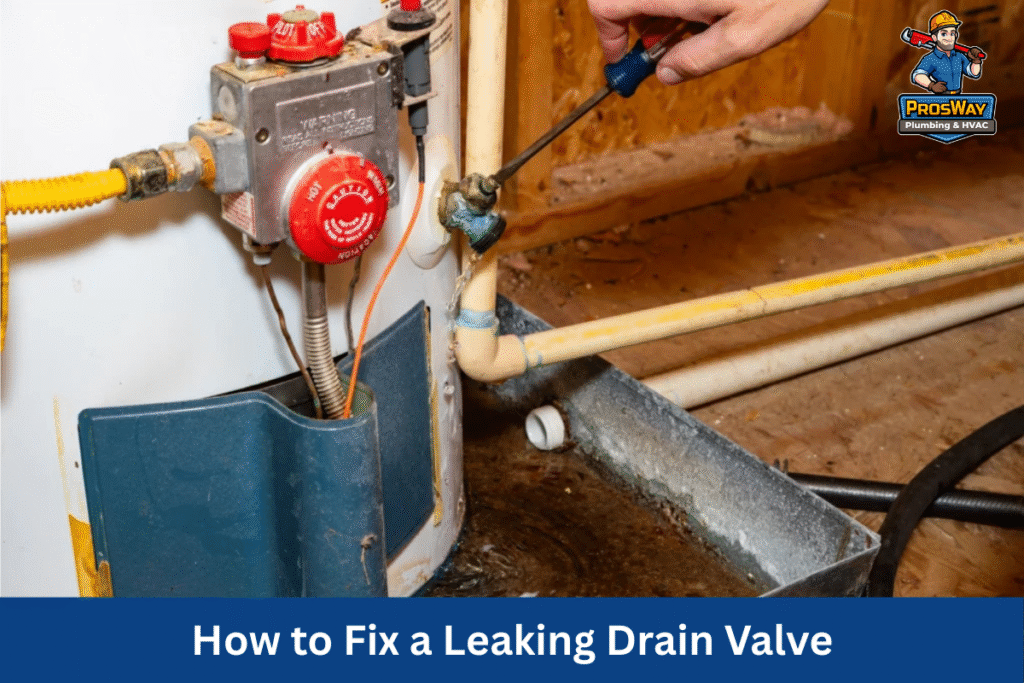
When you’ve confirmed that the drain valve is the source of the leak, you need to decide if a short-term fix will buy you some time or if a permanent solution is necessary. Let’s walk through both approaches.
Quick Checks & Temporary Fixes
Try these first if the leak is minor and you need to stop water damage immediately:
- Tighten the valve slightly: Using a pipe wrench, give the valve a small turn. Sometimes threads loosen just enough to let water seep out. Be careful not to overtighten, especially on plastic valves, as they can crack or strip.
- Cap the spout with a garden hose cap: A simple garden hose cap screwed onto the drain spout can contain drips. This is especially useful if the leak is small and you need time to arrange a replacement. Keep a bucket or towels nearby in case the drip worsens.
- Seal minor thread leaks with tape or sealant: Wrap plumber’s tape (PTFE tape) around the valve threads or apply pipe dope to create a tighter seal. This works best when the leak is seeping from where the valve threads connect to the tank rather than from the spout or handle.
Remember: These fixes only buy time. If the rubber gasket inside the valve has deteriorated or if sediment buildup prevents a proper seal, leaks will return.
Long-Term Solutions
A drain valve that continues to leak should be replaced. Here’s what a safe and proper replacement involves:
- Shut off all supplies
- Close the cold water valve at the top of the tank.
- Turn off the gas at the control knob or the electricity at the breaker.
- Let the water cool before handling; this prevents scalding hazards.
- Close the cold water valve at the top of the tank.
- Drain the tank
- Attach a garden hose to the valve and run it to a bucket, floor drain, or outside.
- Open nearby hot water faucets in the house. This lets air in, speeding up the draining process.
- Fully open the drain valve to let water out.
- Attach a garden hose to the valve and run it to a bucket, floor drain, or outside.
- Remove the faulty valve
- Use a pipe wrench to loosen and remove the old valve.
- Be aware: plastic drain valves may break during removal. If this happens, you’ll need pliers to extract broken pieces.
- Use a pipe wrench to loosen and remove the old valve.
- Install a new brass valve
- Replace it with a brass nipple and a full-port brass valve for long-term durability.
- Wrap threads with PTFE tape or apply pipe dope for a watertight seal.
- Avoid reusing a plastic valve; brass handles heat, pressure, and wear much better.
- Replace it with a brass nipple and a full-port brass valve for long-term durability.
- Refill and test
- Close the new valve and slowly reopen the cold water valve to refill the tank.
- Check carefully for drips around the threads, spout, or handle.
- Once confirmed dry, restore gas or power and set the thermostat to a safe 120°F.
- Close the new valve and slowly reopen the cold water valve to refill the tank.
When to Call a Professional Plumber?
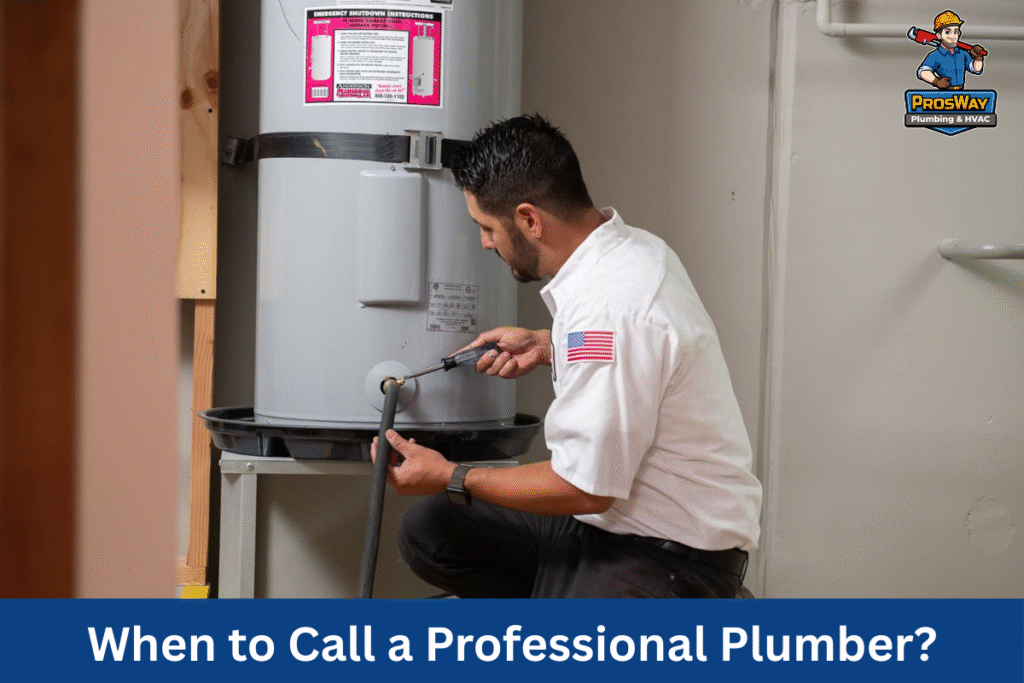
Sometimes a leaking drain valve goes beyond what a homeowner can safely repair. So, an awareness of when to stop troubleshooting and bring in a professional plumber prevents small leaks from turning into basement flooding or a full water heater failure.
If you’ve tried quick fixes like tightening the valve or capping the spout and water still drips, it’s a sign the valve is defective. Persistent leaks often mean the rubber gasket has deteriorated or the valve threads are stripped.
In these cases, replacement is the only reliable solution, and licensed professionals have the right tools to swap out the valve without damaging the water heater tank.
Visible rust or corrosion around the drain valve or tank base is another red flag. Corrosion weakens metal, and forcing a new valve into a corroded port can cause cracks or leaks in the tank itself.
At that point, even replacing the water heater may be safer and more cost-effective than patchwork repairs.
Related Issues Homeowners Might Confuse with a Drain Valve Leak
Not every drip near the base of a water heater comes from the drain valve. Misdiagnosis can waste time and lead to unnecessary water heater repairs.
- Leaking Temperature & Pressure (T&P) Relief Valve: One common mix-up is a leaking temperature and pressure relief (T&P) valve. Located higher on the tank, this valve releases excess heat and pressure. If water is dripping from the discharge pipe, it usually signals high water pressure, water temperature set above 120°F, or a failing valve, not a drain valve problem.
- Inlet/Outlet Pipe Connection Leaks: Another frequent source of leaks is the inlet or outlet pipe connections at the top of the tank. Loose fittings or worn thread sealant can let water drip down the side of the tank, making it appear as though the leak is coming from the bottom.
- Condensation on the Tank Exterior: Condensation often fools homeowners. After heavy hot water use, cold water entering the tank can cause moisture to form on the outer surface. If you see water droplets but no dripping from the spout, handle, or threads, dry the tank and check again later. It was condensation rather than a true leak if the water doesn’t return.
Correctly identifying the source of water is critical. A professional plumber can quickly determine whether the problem is with the drain valve, the T&P valve, or another connection, and recommend the right fix.
Call ProsWay Plumbing & HVAC Today!
Don’t let a small leak become a flood risk. Even if you need a drain valve replacement, a full system inspection, or a new water heater installation, ProsWay Plumbing & HVAC has licensed technicians ready to help. We handle everything, from draining the tank and replacing brittle valves to addressing corrosion and ensuring your water heater runs safely at the right temperature.
Call us now at (862) 260-5870 or Book Online for a detailed inspection and expert solutions that protect your property and lasting peace of mind.